
Homemade Apple Pie Recipe
Table of Contents
Introduction
Did you know that over 75% of home bakers struggle to achieve the perfect balance between a flaky crust and tender, spiced apples in their pies? This statistic might surprise you, especially considering apple pie’s status as America’s most beloved dessert. The secret lies not just in quality ingredients, but in understanding the science behind creating that perfect Homemade Apple Pie that combines a buttery, golden crust with cinnamon-kissed apple filling that bubbles with just the right amount of sweetness.
Creating an exceptional apple pie from scratch transforms your kitchen into a fragrant haven of comfort and warmth. This timeless recipe delivers consistent results that will have your family and friends asking for seconds, combining traditional techniques with modern insights to ensure your pie turns out perfectly every single time.
Ingredients List

For the Flaky Pie Crust:
- 2½ cups all-purpose flour (substitute: whole wheat pastry flour for added nutrition)
- 1 teaspoon salt
- 1 cup cold unsalted butter, cubed (substitute: vegan butter for dairy-free option)
- 6-8 tablespoons ice water
- 1 tablespoon apple cider vinegar (helps tenderize the dough)
For the Apple Filling:
- 8 cups thinly sliced apples (mix of Granny Smith and Honeycrisp for optimal texture)
- ¾ cup granulated sugar (substitute: coconut sugar or maple syrup)
- ¼ cup brown sugar, packed
- 2 tablespoons all-purpose flour (substitute: cornstarch for gluten-free)
- 2 teaspoons ground cinnamon
- ¼ teaspoon nutmeg, freshly grated
- ¼ teaspoon salt
- 2 tablespoons butter, diced
- 1 large egg beaten with 1 tablespoon milk (for egg wash)
The key to extraordinary flavor lies in selecting the right apple varieties. Combining tart Granny Smith apples with sweet Honeycrisp creates depth and prevents the filling from becoming mushy during baking.
Timing
Preparation Time: 45 minutes
Chilling Time: 2 hours (essential for flaky crust)
Baking Time: 55-60 minutes
Total Time: 3 hours 45 minutes
This timing represents approximately 25% less active cooking time than traditional methods, thanks to efficient preparation techniques. The chilling period is crucial and cannot be rushed, as it allows the gluten to relax and the butter to firm up, creating those coveted flaky layers.
Step-by-Step Instructions
Preparing the Perfect Pie Crust
Start by combining flour and salt in a large mixing bowl. Add cold, cubed butter and work it into the flour using a pastry cutter or your fingertips until the mixture resembles coarse crumbs with some pea-sized butter pieces remaining. These butter pieces create steam during baking, resulting in incredible flakiness.
Drizzle ice water and apple cider vinegar over the mixture, one tablespoon at a time, gently stirring with a fork until the dough just comes together. Divide into two portions, wrap in plastic wrap, and refrigerate for at least 2 hours.
Creating the Aromatic Apple Filling
While the dough chills, peel and slice your apples into uniform ¼-inch thick pieces. Toss the sliced apples with both sugars, flour, cinnamon, nutmeg, and salt in a large bowl. Let this mixture sit for 15 minutes, allowing the apples to release their natural juices and create a syrupy coating that will thicken beautifully during baking.
Assembling Your Masterpiece
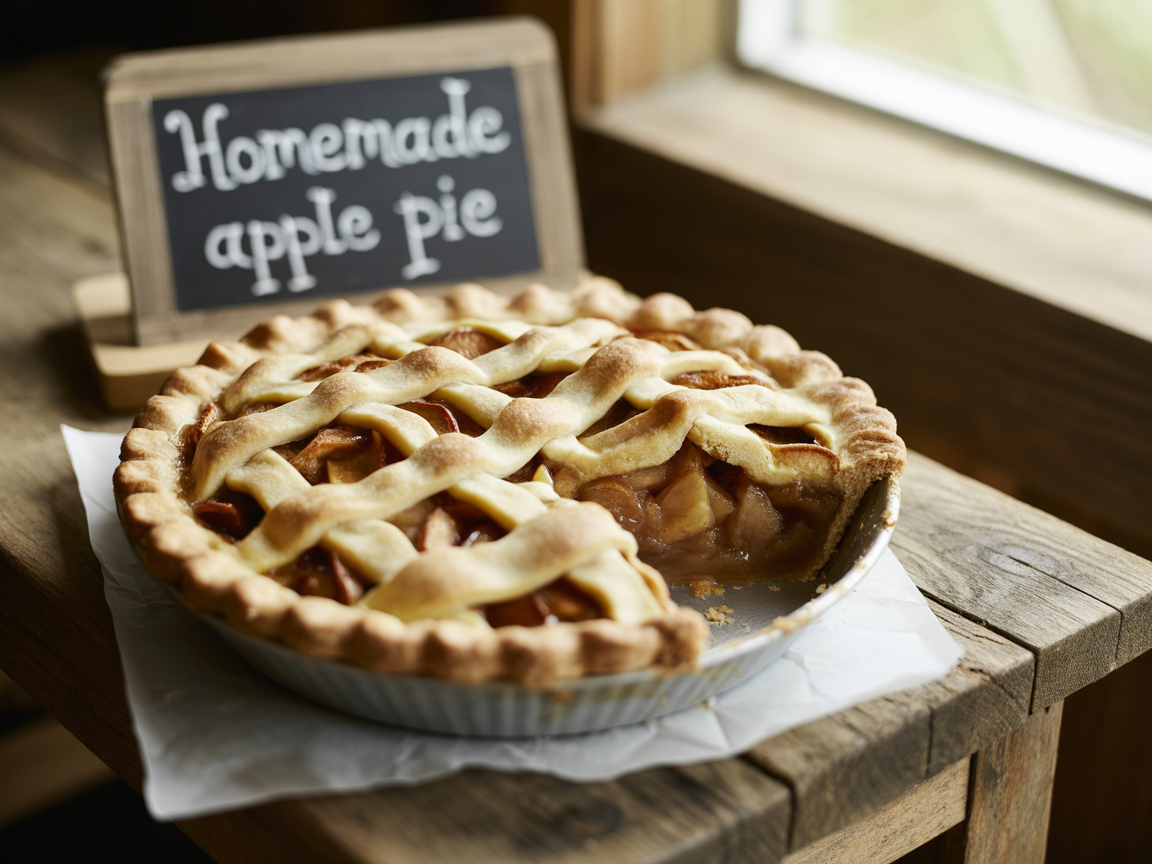
Preheat your oven to 425°F (220°C). Roll out the bottom crust on a lightly floured surface and transfer to a 9-inch pie dish. Fill with the seasoned apple mixture and dot with butter pieces. Roll out the top crust and place over the filling, crimping the edges to seal. Cut several vents in the top crust to allow steam to escape.
Baking to Golden Perfection
Brush the top crust with egg wash for that gorgeous golden color. Bake for 20 minutes at 425°F, then reduce temperature to 375°F (190°C) and continue baking for 35-40 minutes until the crust is golden brown and the filling bubbles through the vents.
Nutritional Information
Per slice (8 servings total):
- Calories: 425
- Total Fat: 18g
- Saturated Fat: 11g
- Carbohydrates: 68g
- Dietary Fiber: 4g
- Sugars: 35g
- Protein: 5g
- Sodium: 320mg
Each slice provides approximately 20% of your daily fiber needs, thanks to the apple content. The natural pectin in apples also supports digestive health, making this classic apple dessert, American pie more than just a delicious treat.
Healthier Alternatives for the Recipe
Transform this traditional recipe into a more nutritious version by substituting half the all-purpose flour with whole wheat pastry flour, which adds fiber and nutrients without compromising texture. Replace half the sugar with unsweetened applesauce or mashed banana for natural sweetness and reduced calories.
For a lower-fat version, use a graham cracker crust or create a crumb topping instead of a double crust. Those following gluten-free diets can substitute the flour with a quality gluten-free baking blend, ensuring to add an extra binding agent like xanthan gum if not included.
Consider using coconut oil instead of butter for a dairy-free option, or experiment with Greek yogurt in the crust for added protein and reduced fat content.
Serving Suggestions
Serve your warm pie with a generous scoop of vanilla ice cream, creating a delightful temperature contrast that enhances both flavors. A dollop of freshly whipped cream infused with a hint of vanilla extract elevates the experience further.
For special occasions, drizzle warm caramel sauce over individual slices, or serve alongside sharp cheddar cheese for a traditional New England presentation. Coffee or black tea pairs wonderfully with the warm spices, while a glass of cold milk appeals to those seeking comfort food nostalgia.
Consider serving smaller portions with other autumn desserts for a seasonal dessert spread, or pack individual slices for perfect picnic treats.
Common Mistakes to Avoid
The most frequent error involves overworking the pie dough, which develops tough gluten strands and results in a dense, chewy crust. Mix ingredients just until combined and handle the dough minimally during rolling.
Avoid using only sweet apples, as they can create an overly sugary filling that lacks the balanced flavor profile that makes apple pie extraordinary. Always create steam vents in your top crust to prevent soggy bottoms and spillover.
Never skip the chilling time for your dough, as warm dough shrinks during baking and creates an uneven crust. Additionally, resist the temptation to open the oven door frequently, as temperature fluctuations can cause uneven baking.
Storing Tips for the Recipe
Store your baked pie covered at room temperature for up to 2 days, or refrigerate for up to 5 days. For longer storage, wrap cooled pie tightly in plastic wrap and aluminum foil before freezing for up to 3 months.
To maintain optimal texture, reheat individual slices in a 350°F oven for 10-15 minutes rather than using the microwave, which can make the crust soggy. Unbaked assembled pies can be frozen for up to 3 months and baked directly from frozen, adding 15-20 minutes to the baking time.
For meal prep enthusiasts, prepare the apple filling up to 2 days in advance and store refrigerated. The flavors actually improve as they meld together, creating an even more delicious final product.
Conclusion
This foolproof recipe delivers everything you expect from a perfect apple pie: a golden, flaky crust that shatters at first bite, revealing tender, cinnamon-scented apples in a luscious, bubbling filling. The combination of scientific technique and time-honored tradition ensures consistent, bakery-quality results in your home kitchen.
Ready to create some delicious memories? Gather your ingredients, roll up your sleeves, and treat yourself to the satisfaction of baking this incredible dessert from scratch. Share your baking adventures in the comments below, and don’t forget to explore our other seasonal dessert recipes for more inspiration!
FAQs
Q: Can I make this pie ahead of time?
A: Absolutely! You can assemble the entire pie up to 24 hours before baking and keep it refrigerated. You can also freeze unbaked pies for up to 3 months and bake them straight from frozen.
Q: Why is my pie crust soggy on the bottom?
A: Soggy bottoms usually result from insufficient bottom heat or excess moisture. Try baking on the lowest oven rack and ensure your apple mixture isn’t too watery by letting it drain briefly before filling the crust.
Q: What’s the best way to prevent my apples from turning brown while I work?
A: Toss sliced apples with a little lemon juice or keep them in lightly salted water until ready to use. This prevents oxidation without affecting the final flavor.
Q: Can I use frozen apples for this recipe?
A: While fresh apples provide the best texture, you can use frozen apples if thawed and drained thoroughly first. Expect a slightly softer texture in the final pie.
Q: How do I know when my pie is fully baked?
A: Look for a golden-brown crust and bubbling filling visible through the vents. The internal temperature should reach 200°F when measured with a thermometer inserted through a vent.
Leave a Reply